
Beautiful photo effect with photoshop techniques
Final Image Preview

Tutorial Details
- Program : Photoshop
- Version : CS
- Difficulty : intermediate
- Estimated Completion Time: 1 hours
ok let's do it
STEP 1
Create new project , 2000×2600 pixels , after that Grab the bucket tool block the backgroung with green color , mine is #1D9605

STEP 2
make new layer and give some color on it , after that pict stripes narrow style to make some effect .
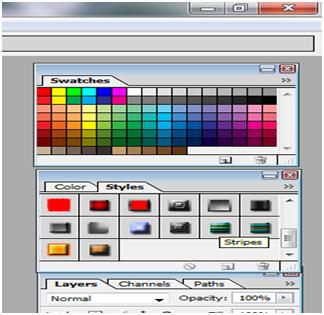

Reduce the oppocity to 30%, the image would like this

STEP 3
we would like to add some text , grab text tolls and write some text in the bottom of project , after that go to layer – layer style effect and give this setting


After that ,using brush with white color than draw a circle right on the center of text , change the opposity to overlays than reduce the layer oppocity into 30 % . Note: use ractangel marquee to delete the unwanted part .

Step 4
Add the model into project , than go to filter – blur – motion blur , give some high setting so the project would like this

Next, duplicate the layer three time , so it would be more hard

Step 5
Drag again the model to project , but do not give effect , next creating a rectangle using the rectangle tool , Now ctrl+click on the rectangle layer in order to select its pixels, select the model’s layer and hide the visibility of the rectangle. We have only the selection visible. Move the selection using the move tool (V). Then press ctrl+D to deselect.

Grab the marquee selection tool and create a linear gradient going from white to transparent into a new layer . Then press ctrl+D to deselect and set the layer to overlay, Press ctrl+T to activate the transform tool and rotate the light effect to cover the part of the model we moved out from the body.

Step 6
Last step is create new layer ,and give the layer spectrum gradient effect , press crtl T than replace it on center body of medel , next duplicate the layer and tranform the gradient into like on picture bellow. Than use eraser tools to delete unwanted part .


